

Trusted Microsoft Dynamics Partner



Hey everyone, Scott Roller here. I know that this is a topic that new System Admins struggle to figure. I’m going to address how to add search fields to the Filter by Keyword at the top of entity views.
First let’s discuss the situation and problem. Most Dynamics 365 deployments have many system and personal Views that are available for end users to use to filter and display the different data types (Accounts, Contacts, Cases, etc.). These Views, both system and personal, can be quickly filtered using the “Filter by keyword” box in the upper right corner of a View. The filter by keyword search is limited to a defined list of fields for the record type (Account, Contact, Case, etc.) the user is currently viewing. In the example above we can only Filter by keyword for Case records by Case Number and Case Title. If we search for expected values in other fields the search will not find any results. Luckily there is an easy way to change the fields that are available for search.
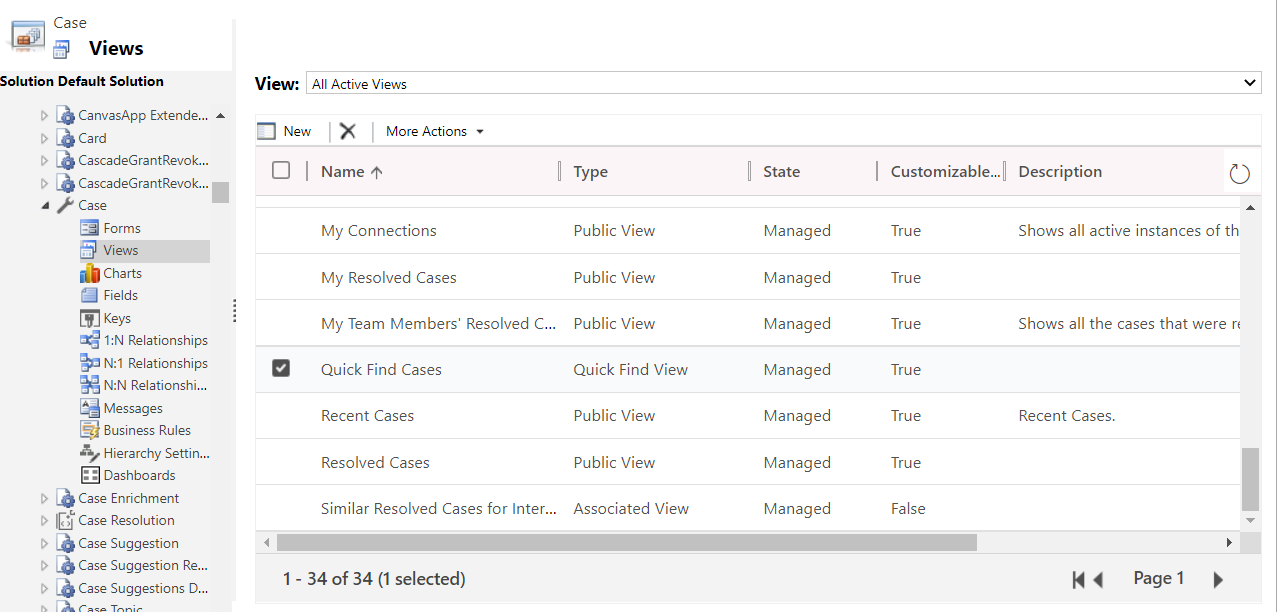
So how do we change the search fields for Filter by keyword? First we need to open a solution in Dynamics that contains the entity that we want to change. In the example below I am using the Default Solution to access the Case entity.
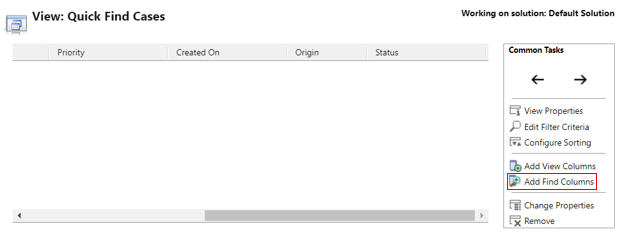
We will then open the Quick Find view and use the Add Find Columns button.
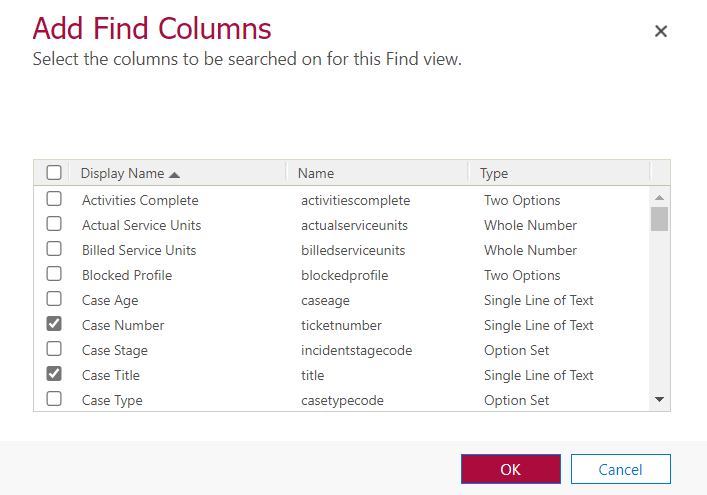
From here you can add or remove fields that will be available in the Filter by keyword search.
All changes will be reflected in the search box after the solution is saved and published. After publishing is complete use Control>F5 in the browser to complete a refresh and the changes will be available.
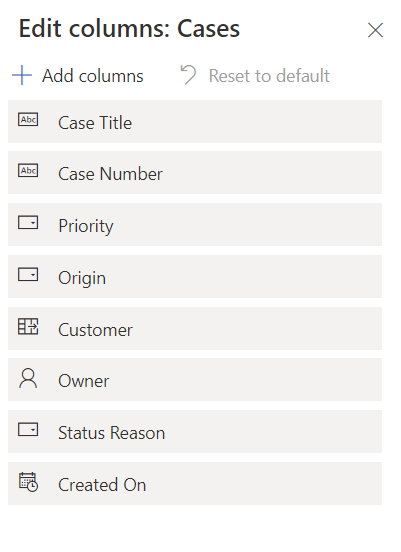
To finish up the topic I will briefly cover the other search and view functionality that is available at the top of each entity view. As stated previously the Filter by keyword search will only look for data in the chosen fields. It also assumes that what you are searching for “Begins with” the text that you enter in the search box. You may have also noticed that there are Edit Columns and Edit Filters buttons at the top of the views. With Edit Columns users can add or remove Columns (fields) and change the field order of the view results without permanently changing the current view.
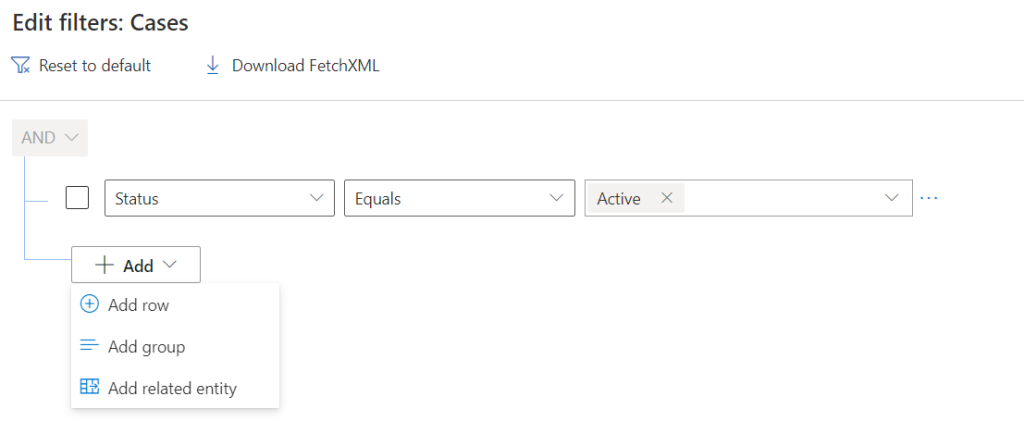
With Edit Filters users can change the underlying filter for the view, once again not permanently. It will display the default filter for the view when pushed which can then be changed by adding or removing row filters and grouping filters together.
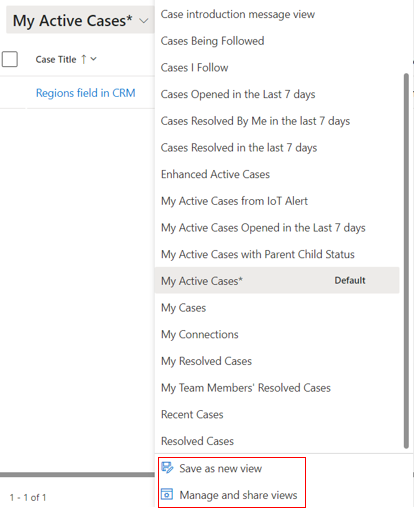
Lastly users can save these view changes as a Personal view if they know that they will need to access the view change in the same format again. Simply use the “Save as a new view” choice and give it a descriptive name. Owners of Personal Views can share their views with other users by using the Manage and share views option.
If you found this blog helpful, subscribe below to receive our monthly updates.

If you found this blog helpful, subscribe to receive our monthly updates.